Example Foundation Repair Projects in Bellevue

These examples follow one foundation job each across Bellevue, Mercer Island and Newcastle: the house, the request, the work in order and a cost estimate.

None of the examples is a past job, a client or an address. They illustrate the work we plan and quote.

Four steel piers under one corner of a block foundation

Example project
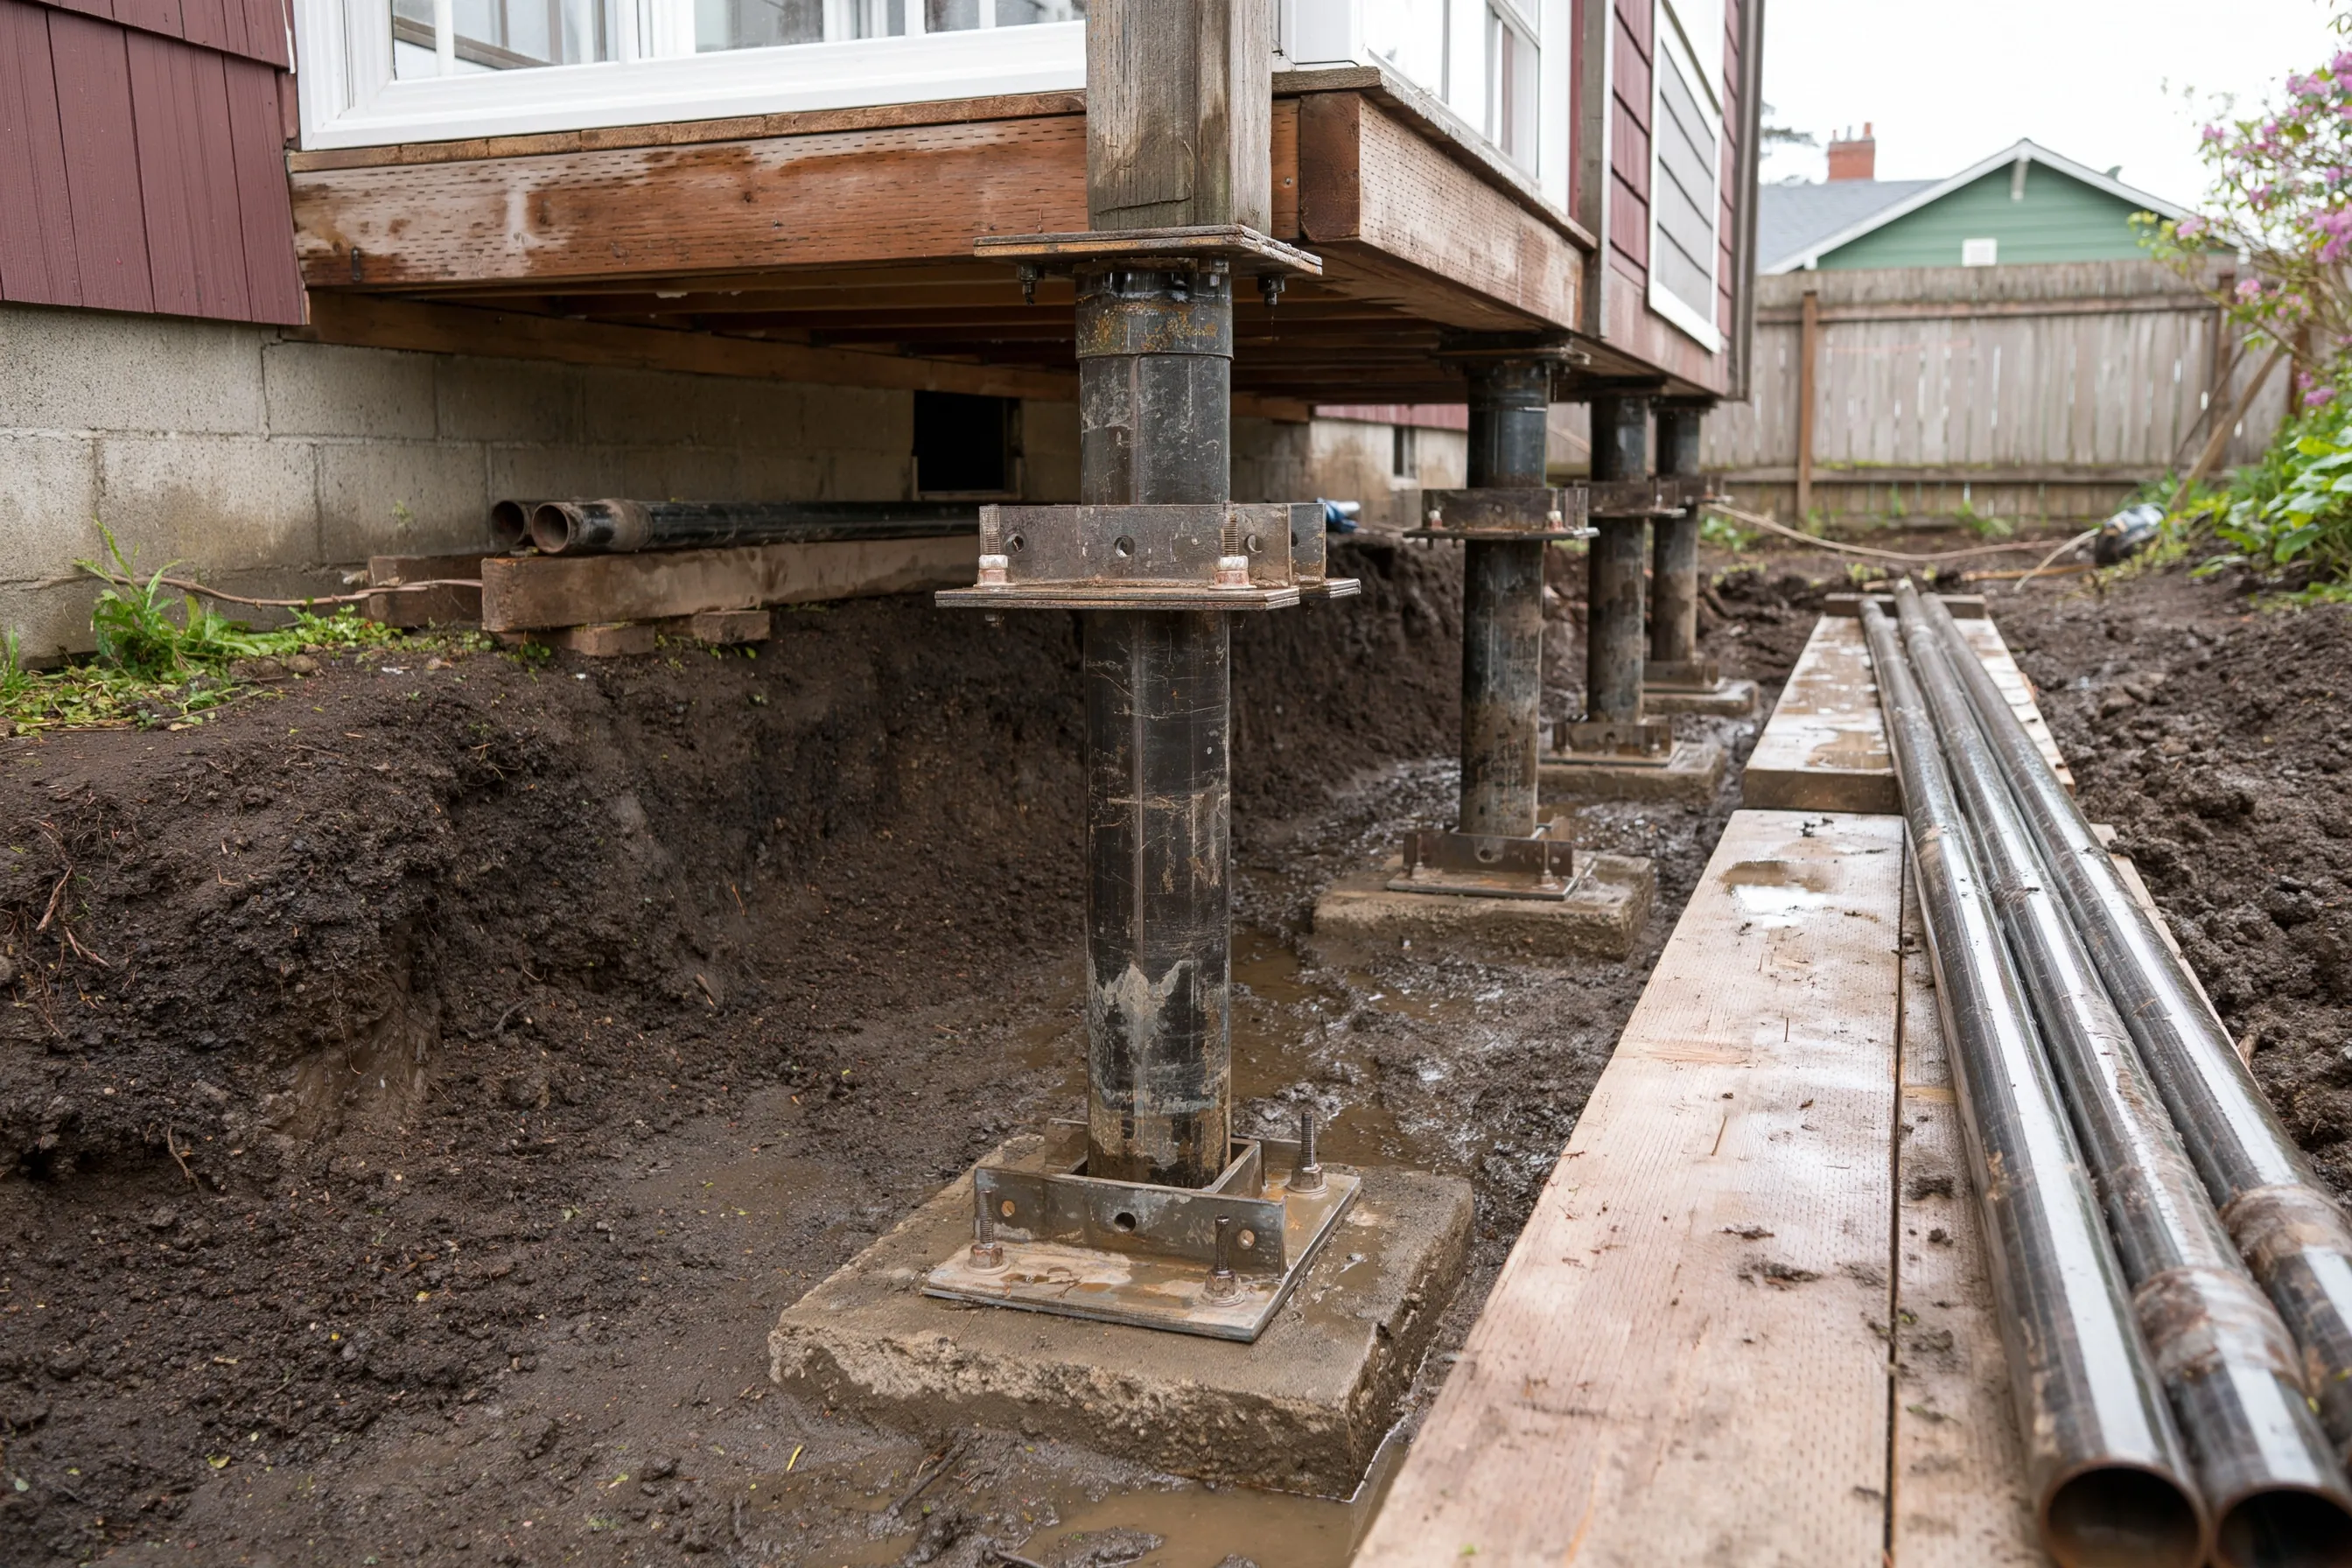
Steel pier columns on plates and concrete pads in a dug-out strip beside a block foundation wall, each carrying a bracket under the floor beam, with steel pipe lengths on planks
Home
House in Bellevue with a concrete block foundation wall
Original request
A corner that has dropped, with a gap opening above the windows
Dug-out strip
Beside the wall, with a steel plate and concrete pad at each pier
Piers
Four steel columns, each with a bracket under the floor beam
Not included
An engineer’s report, permit costs and landscaping
Cost
$9,800

Scope of work

Digging out beside the foundation, four steel piers with plates, pads and brackets under the floor beam, backfill and tamping, and hauling away the spoil. A report from an engineer, permit costs and replanting are not part of this cost.

Project overview

In this example, the owners of a house in Bellevue see one corner sitting lower than the rest. A gap has opened above the windows on that side, and the block wall beneath is where the weight comes down.

The plan puts four steel piers along the wall, each with a bracket under the floor beam. How many piers and how deep they go comes from the written plan, which also says whether an engineer’s design or a permit applies.

The goal

The goal is a corner carried on steel piers at the depth the plan calls for, with the work and its limits written down.

Process

  1. Before work The corner is measured and photographed, the plan is written, and the permit or engineer question is settled.
  2. Dig A strip is dug beside the wall down to the footing, with the spoil kept on planks.
  3. Piers Each pier is set on its plate and pad and fitted with a bracket under the beam as the plan shows.
  4. Close up The strip is backfilled and tamped, and the windows and doors on that side are checked.

Planning right

  • Say which corner you think has dropped and what you see inside, such as gaps or doors that stick.
  • Ask for the pier count and depth to be written in the scope.
  • Keep a clear path to the wall, because the work is done by hand and small machines.
  • Ask who deals with the permit question before the strip is dug.
Get a free quoteMore about settlement and piers

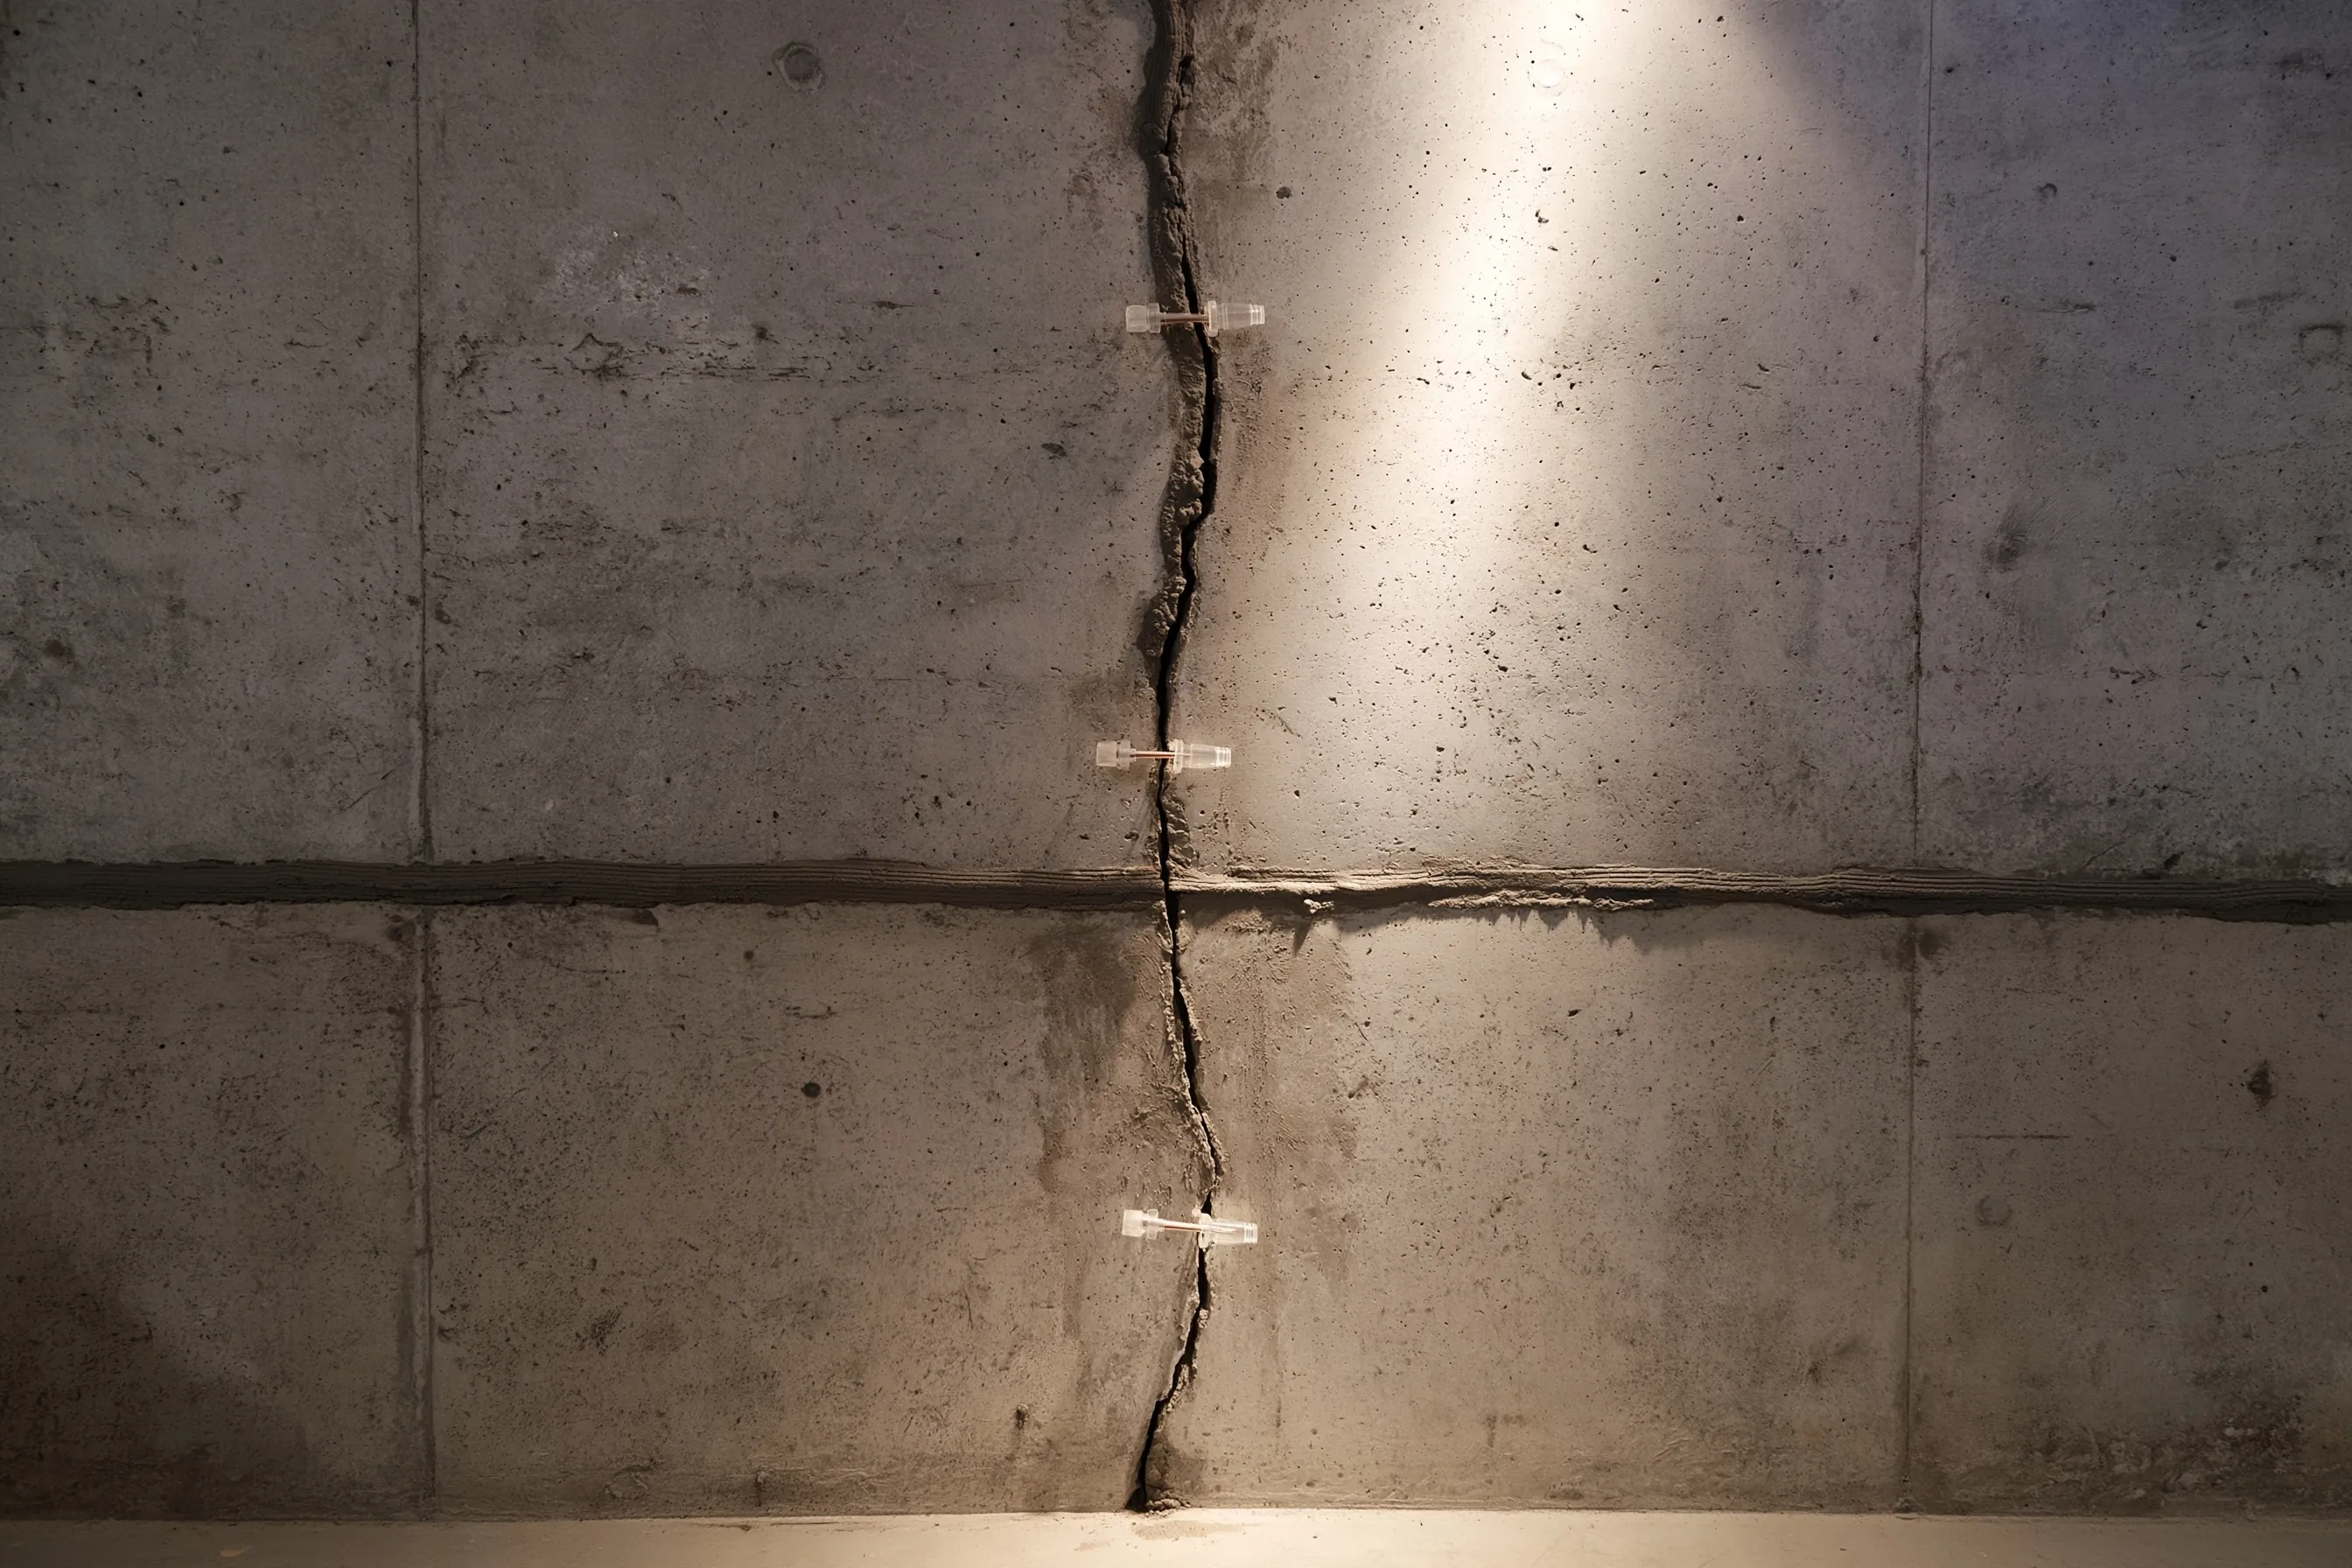
One vertical crack sealed from inside the basement

Example project

Grey poured-concrete interior wall with one vertical crack closed with a bead of material and three small clear plastic injection ports along it
Home
House in Bellevue with a poured-concrete basement wall
Original request
A crack running up the wall that leaves a damp mark after heavy rain
Crack
One vertical crack, most of the height of the wall
Method
A surface bead along the crack with small ports set along it
Not included
Outside drainage and interior paint
Cost
$700

Scope of work

Cleaning the crack, a surface bead along its length, small injection ports set along it, injection of epoxy or polyurethane from the bottom up, and removing the ports afterwards. Drainage work and paint are not part of this cost.

Project overview

In this example, the owners of a house in Bellevue find a vertical crack running most of the way up a basement wall. After a hard rain a damp patch shows along its lower end.

Before anything is injected, the crack is measured and marked so that a later visit can show whether it has moved. The wall is bare concrete, which makes the bead and ports easy to see.

The goal

The goal is a crack sealed from the inside and a record of where it started, so any later movement can be seen.

Process

  1. Before work The crack is measured, marked at both ends and photographed so a later visit has something to compare.
  2. Prepare The crack is cleaned and a surface bead is run along it with ports set at intervals.
  3. Inject Material is injected through the ports from the bottom up until it shows at the next port.
  4. Finish The ports come off, the bead is ground back and the wall is checked after the next heavy rain.

Planning right

  • Mark the crack’s ends with a pencil and a date so you can tell later whether it has moved.
  • Tell us if the crack has grown or if a door nearby has begun to stick.
  • Ask whether the water is coming through the crack or from the soil above it.
  • A wide crack that is still moving needs a closer look than a hairline one.

Get a free quoteMore about foundation crack repair

A new beam and posts under a bouncy front room

Example project

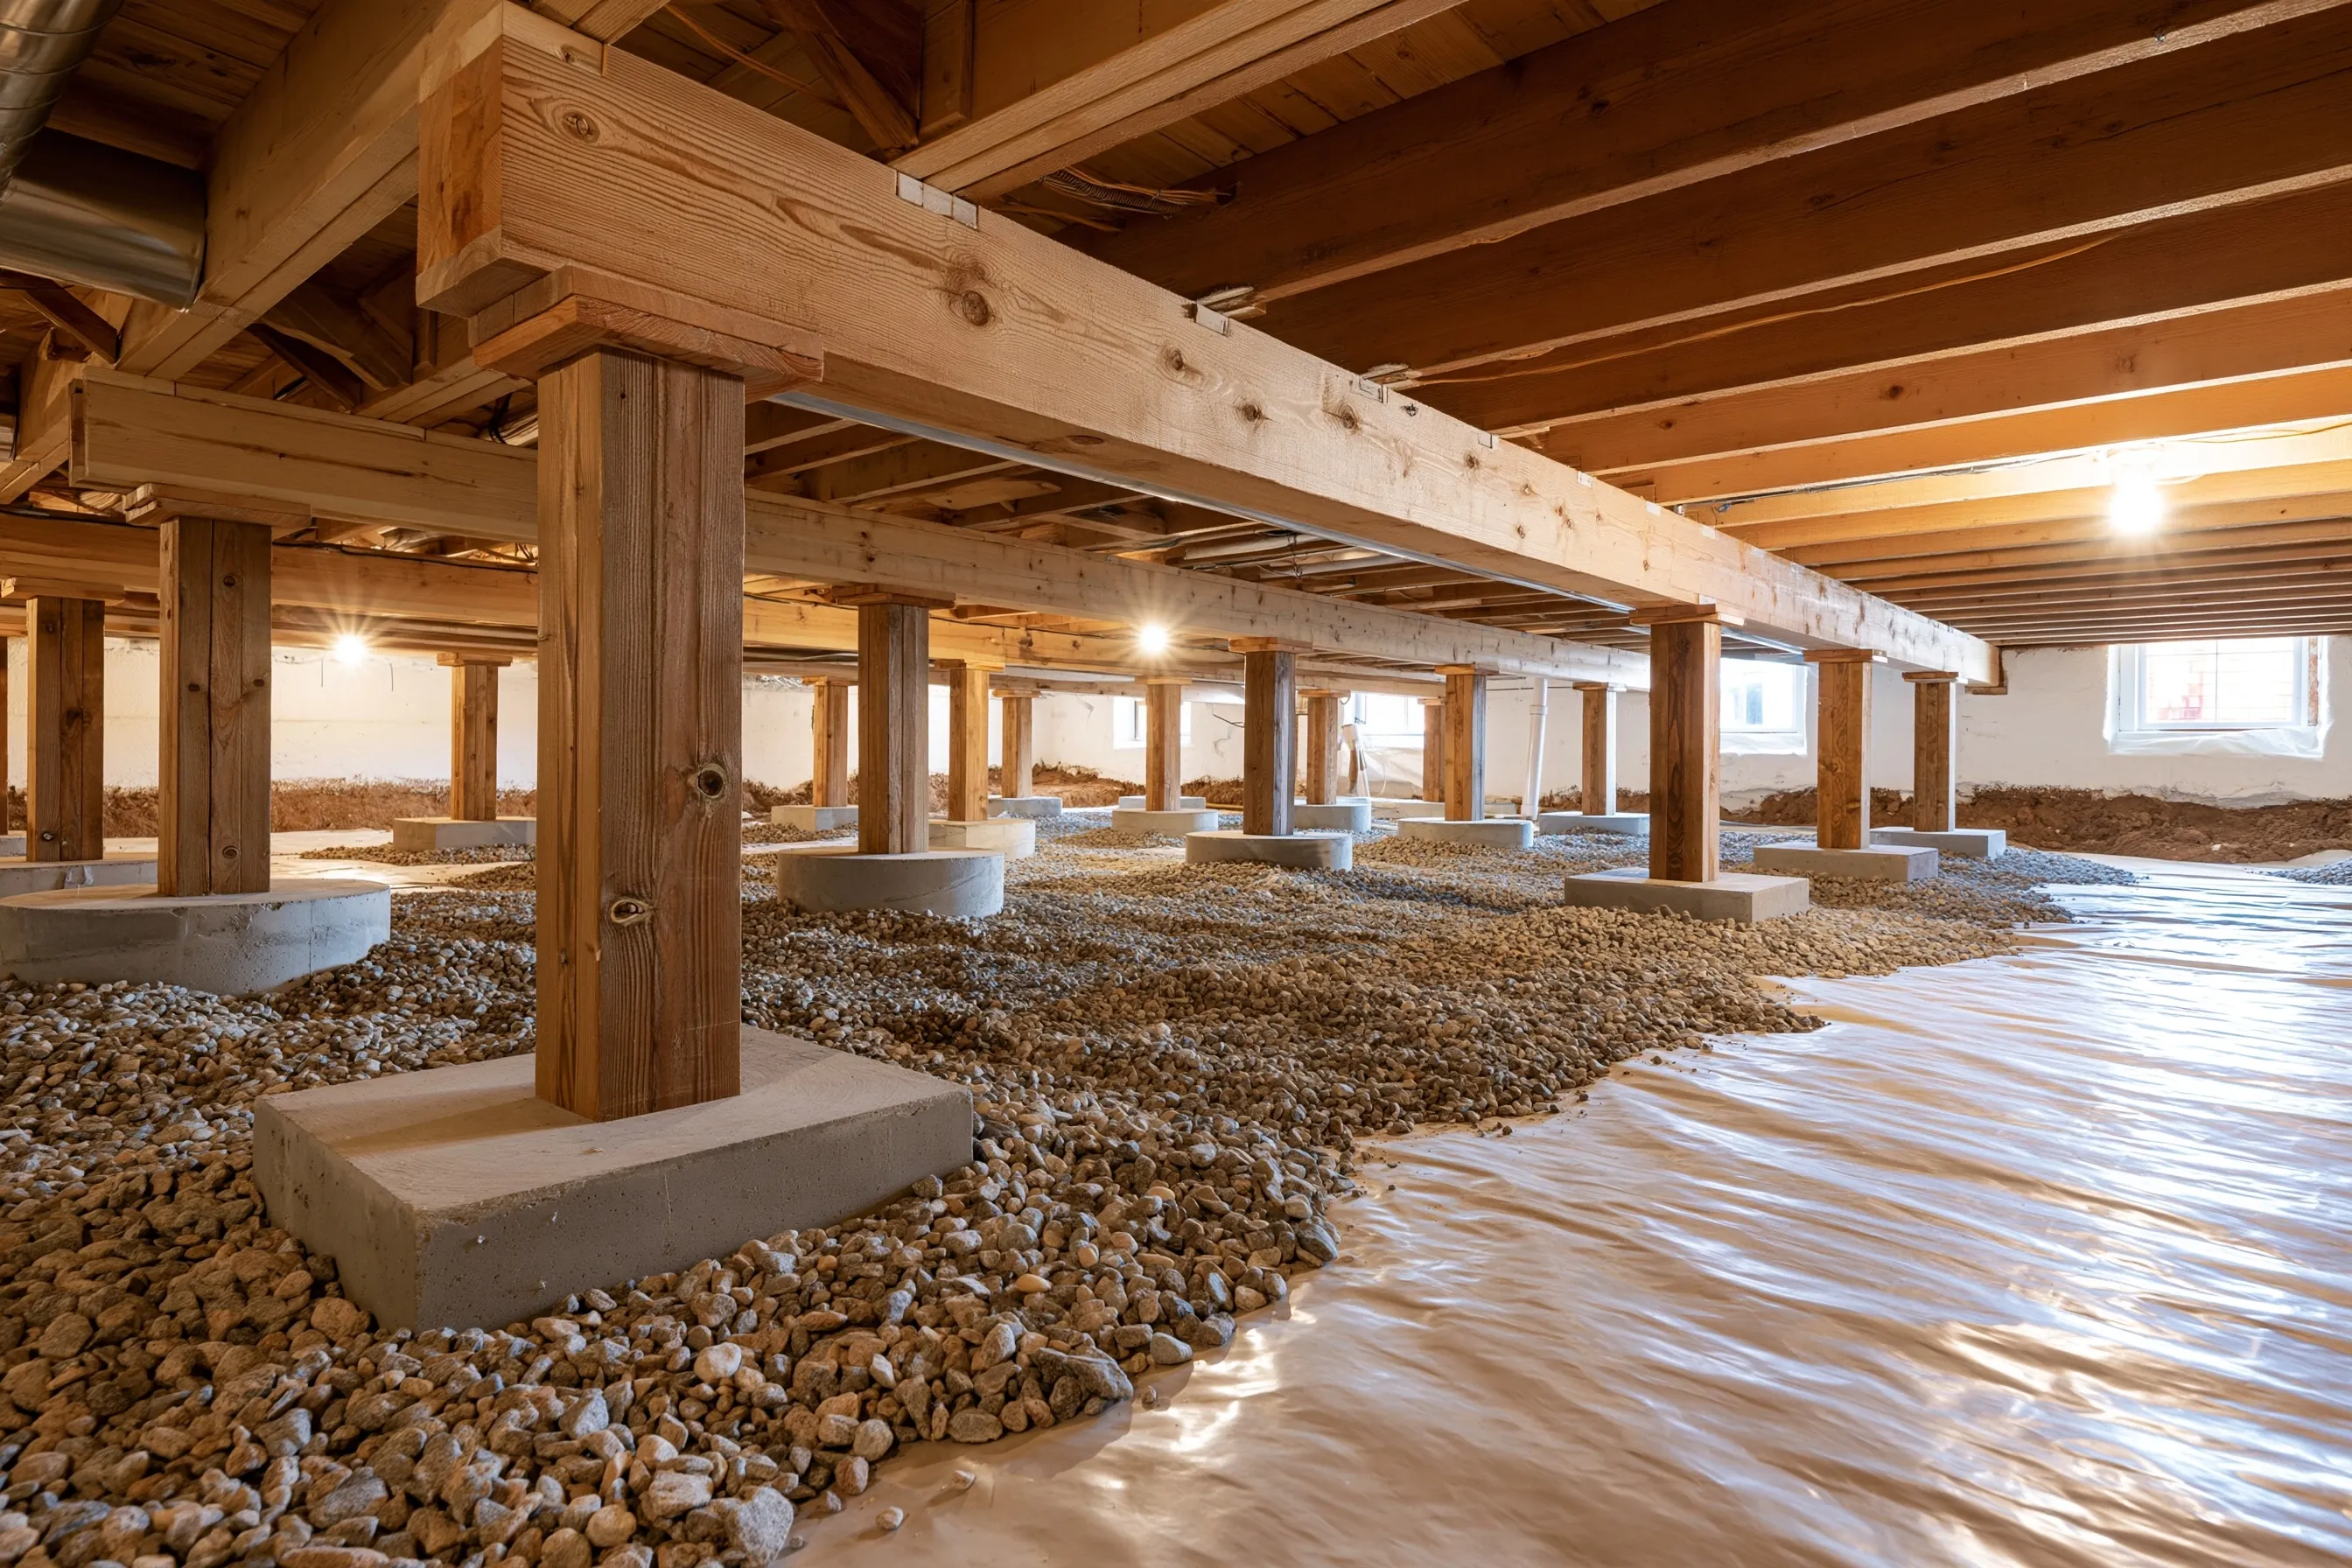
Crawlspace with new light-colored posts on concrete pads under straight wood girders, gravel and a plastic sheet on the ground, and joists overhead
Home
House in Bellevue with a crawlspace
Original request
A front room whose floor bounces and sags toward the middle
Under the floor
Posts on concrete pads carrying wood girders and joists
Ground
Gravel and a plastic sheet over part of the soil
Not included
Floor finishes above and any moisture work beyond the sheet
Cost
$6,200

Scope of work

Temporary shoring under the room, a new beam sized for the span, new posts on fresh concrete pads, connectors, and a plastic ground sheet put back where it was moved. Floor finishes and drainage work are not part of this cost.

Project overview

In this example, the owners of a house in Bellevue feel the floor of the front room bounce when they walk across it. Under the room the old girder has sagged between its posts.

The plan shores the floor from below, replaces the girder with a new beam and sets new posts on concrete pads. The ground under the room already has gravel and a plastic sheet, which are kept clean.

The goal

The goal is a floor carried on a new beam and posts that stand on proper footings, with the damp question looked at the same day.

Process

  1. Before work The span and the posts are measured, the crawlspace is checked for damp, and the plan is written.
  2. Shore Temporary supports take the floor load so the old girder can come out.
  3. New beam The new beam goes in on new posts and pads, tied to the joists with connectors.
  4. Close up The shoring comes out, the ground sheet is smoothed and the floor above is checked for movement.

Planning right

  • Tell us where the floor bounces most and whether it is worse in wet weather.
  • Ask for the crawlspace to be photographed before and after.
  • Keep the hatch clear. A low or small hatch changes how the new beam gets in.
  • Ask whether a permit applies to a new beam at your address.

Get a free quoteMore about crawlspace posts and beams

Plywood bracing on the short walls of an older crawlspace house

Example project

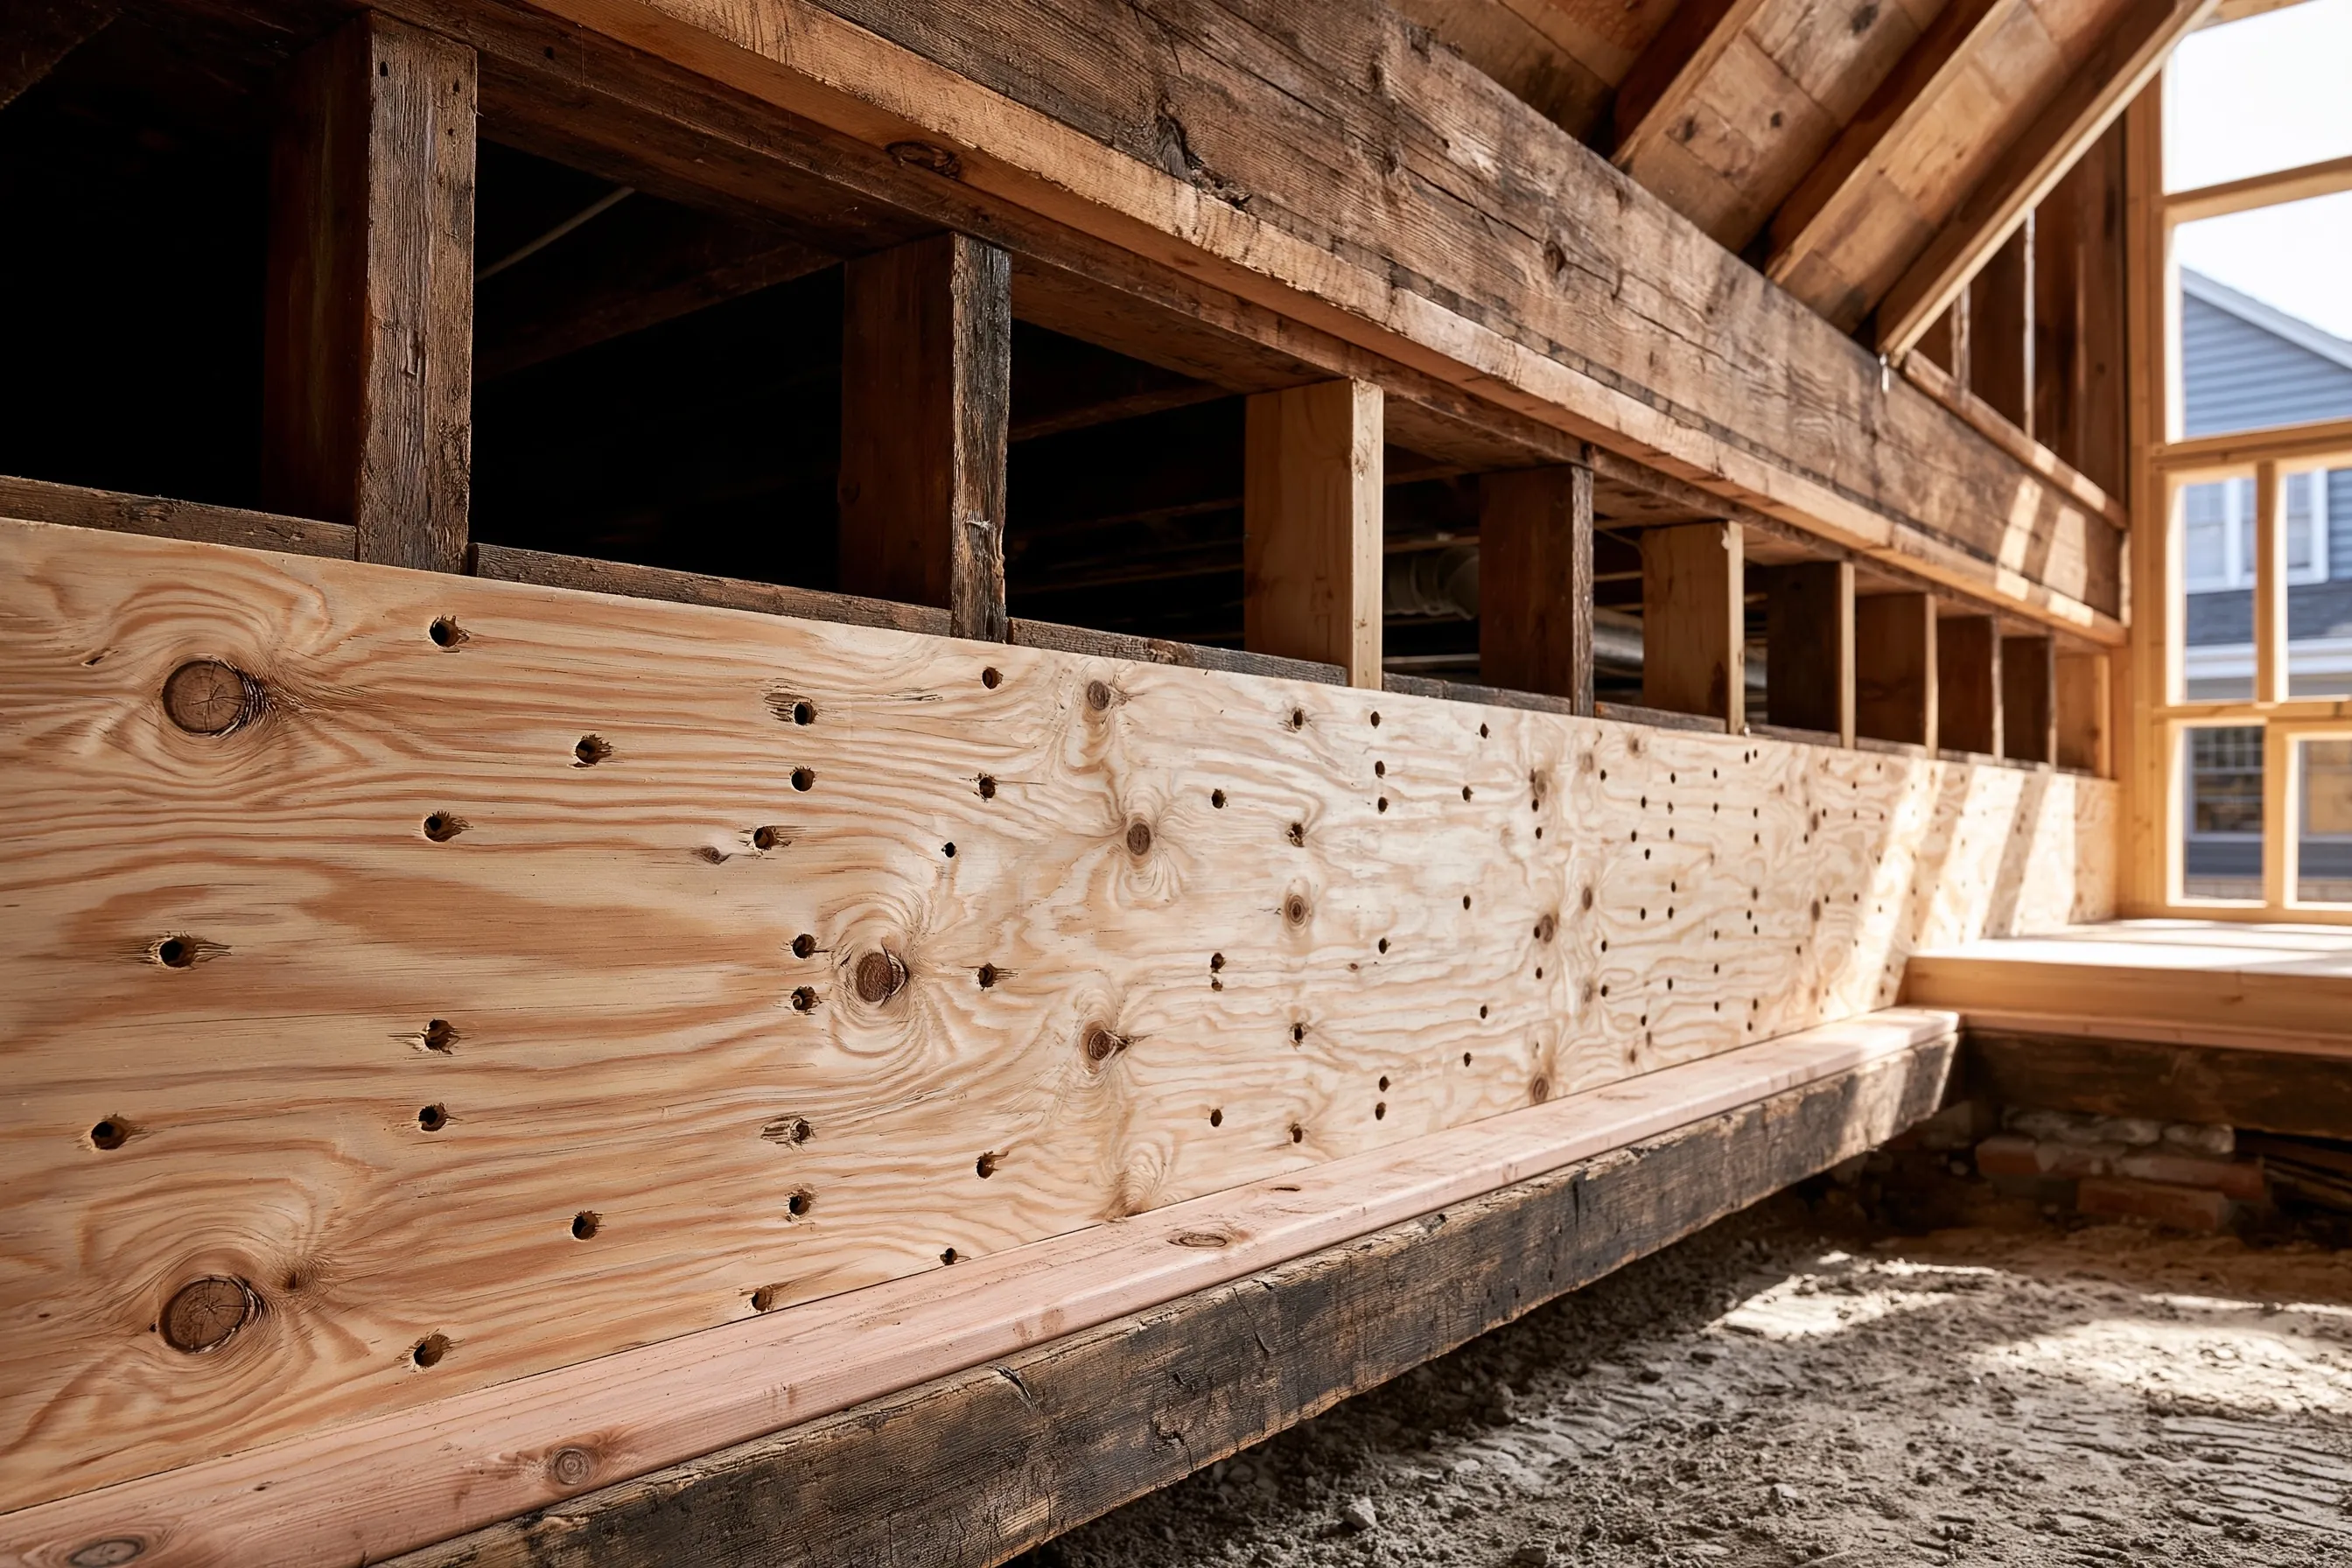
Short wall of old dark framing covered with new plywood nailed in a regular pattern, with a framed window at the right and sandy ground
Home
About 2,000 sq ft house on Mercer Island with a crawlspace
Original request
Bolt and brace the house against an earthquake
Walls
Short walls between the foundation and the floor, in old dark framing
Bracing
New plywood nailed in a regular pattern
Not included
Permit costs and any engineer’s design
Cost
$11,800

Scope of work

Bolts through the sill into the foundation, connector plates where the framing needs them, and plywood sheathing nailed in a set pattern on the short walls. Permit costs and any engineer’s design are not part of this cost.

Project overview

In this example, the owners of an older house on Mercer Island have read that bolting and bracing lowers the chance of the house moving off its foundation in an earthquake. The crawlspace has short walls under old, dark framing.

The plan bolts the house to the foundation and covers the short walls with plywood. It lowers risk and does not make the house earthquake-proof, and the written scope says so.

The goal

The goal is a house tied to its foundation with braced short walls, and a written scope that does not promise more than that.

Process

  1. Before work The crawlspace walls and the foundation are measured and the plan is written, with any permit question settled.
  2. Bolting Holes are drilled through the sill into the foundation and the bolts and plates go in.
  3. Bracing Plywood is cut to the short walls and nailed in the pattern the plan shows.
  4. Close up The work is checked against the plan, and any plans or inspections that apply are handled.

Planning right

  • Ask for the permit question to be answered before the crawlspace work starts.
  • Keep the crawlspace hatch and the paths to the walls clear of storage.
  • Say if you have seen rot or insect damage at the sill, because bolts need sound wood.
  • Ask what the retrofit does and does not do for your house.

Get a free quoteMore about seismic bolting

An outside footing drain along one wall

Example project

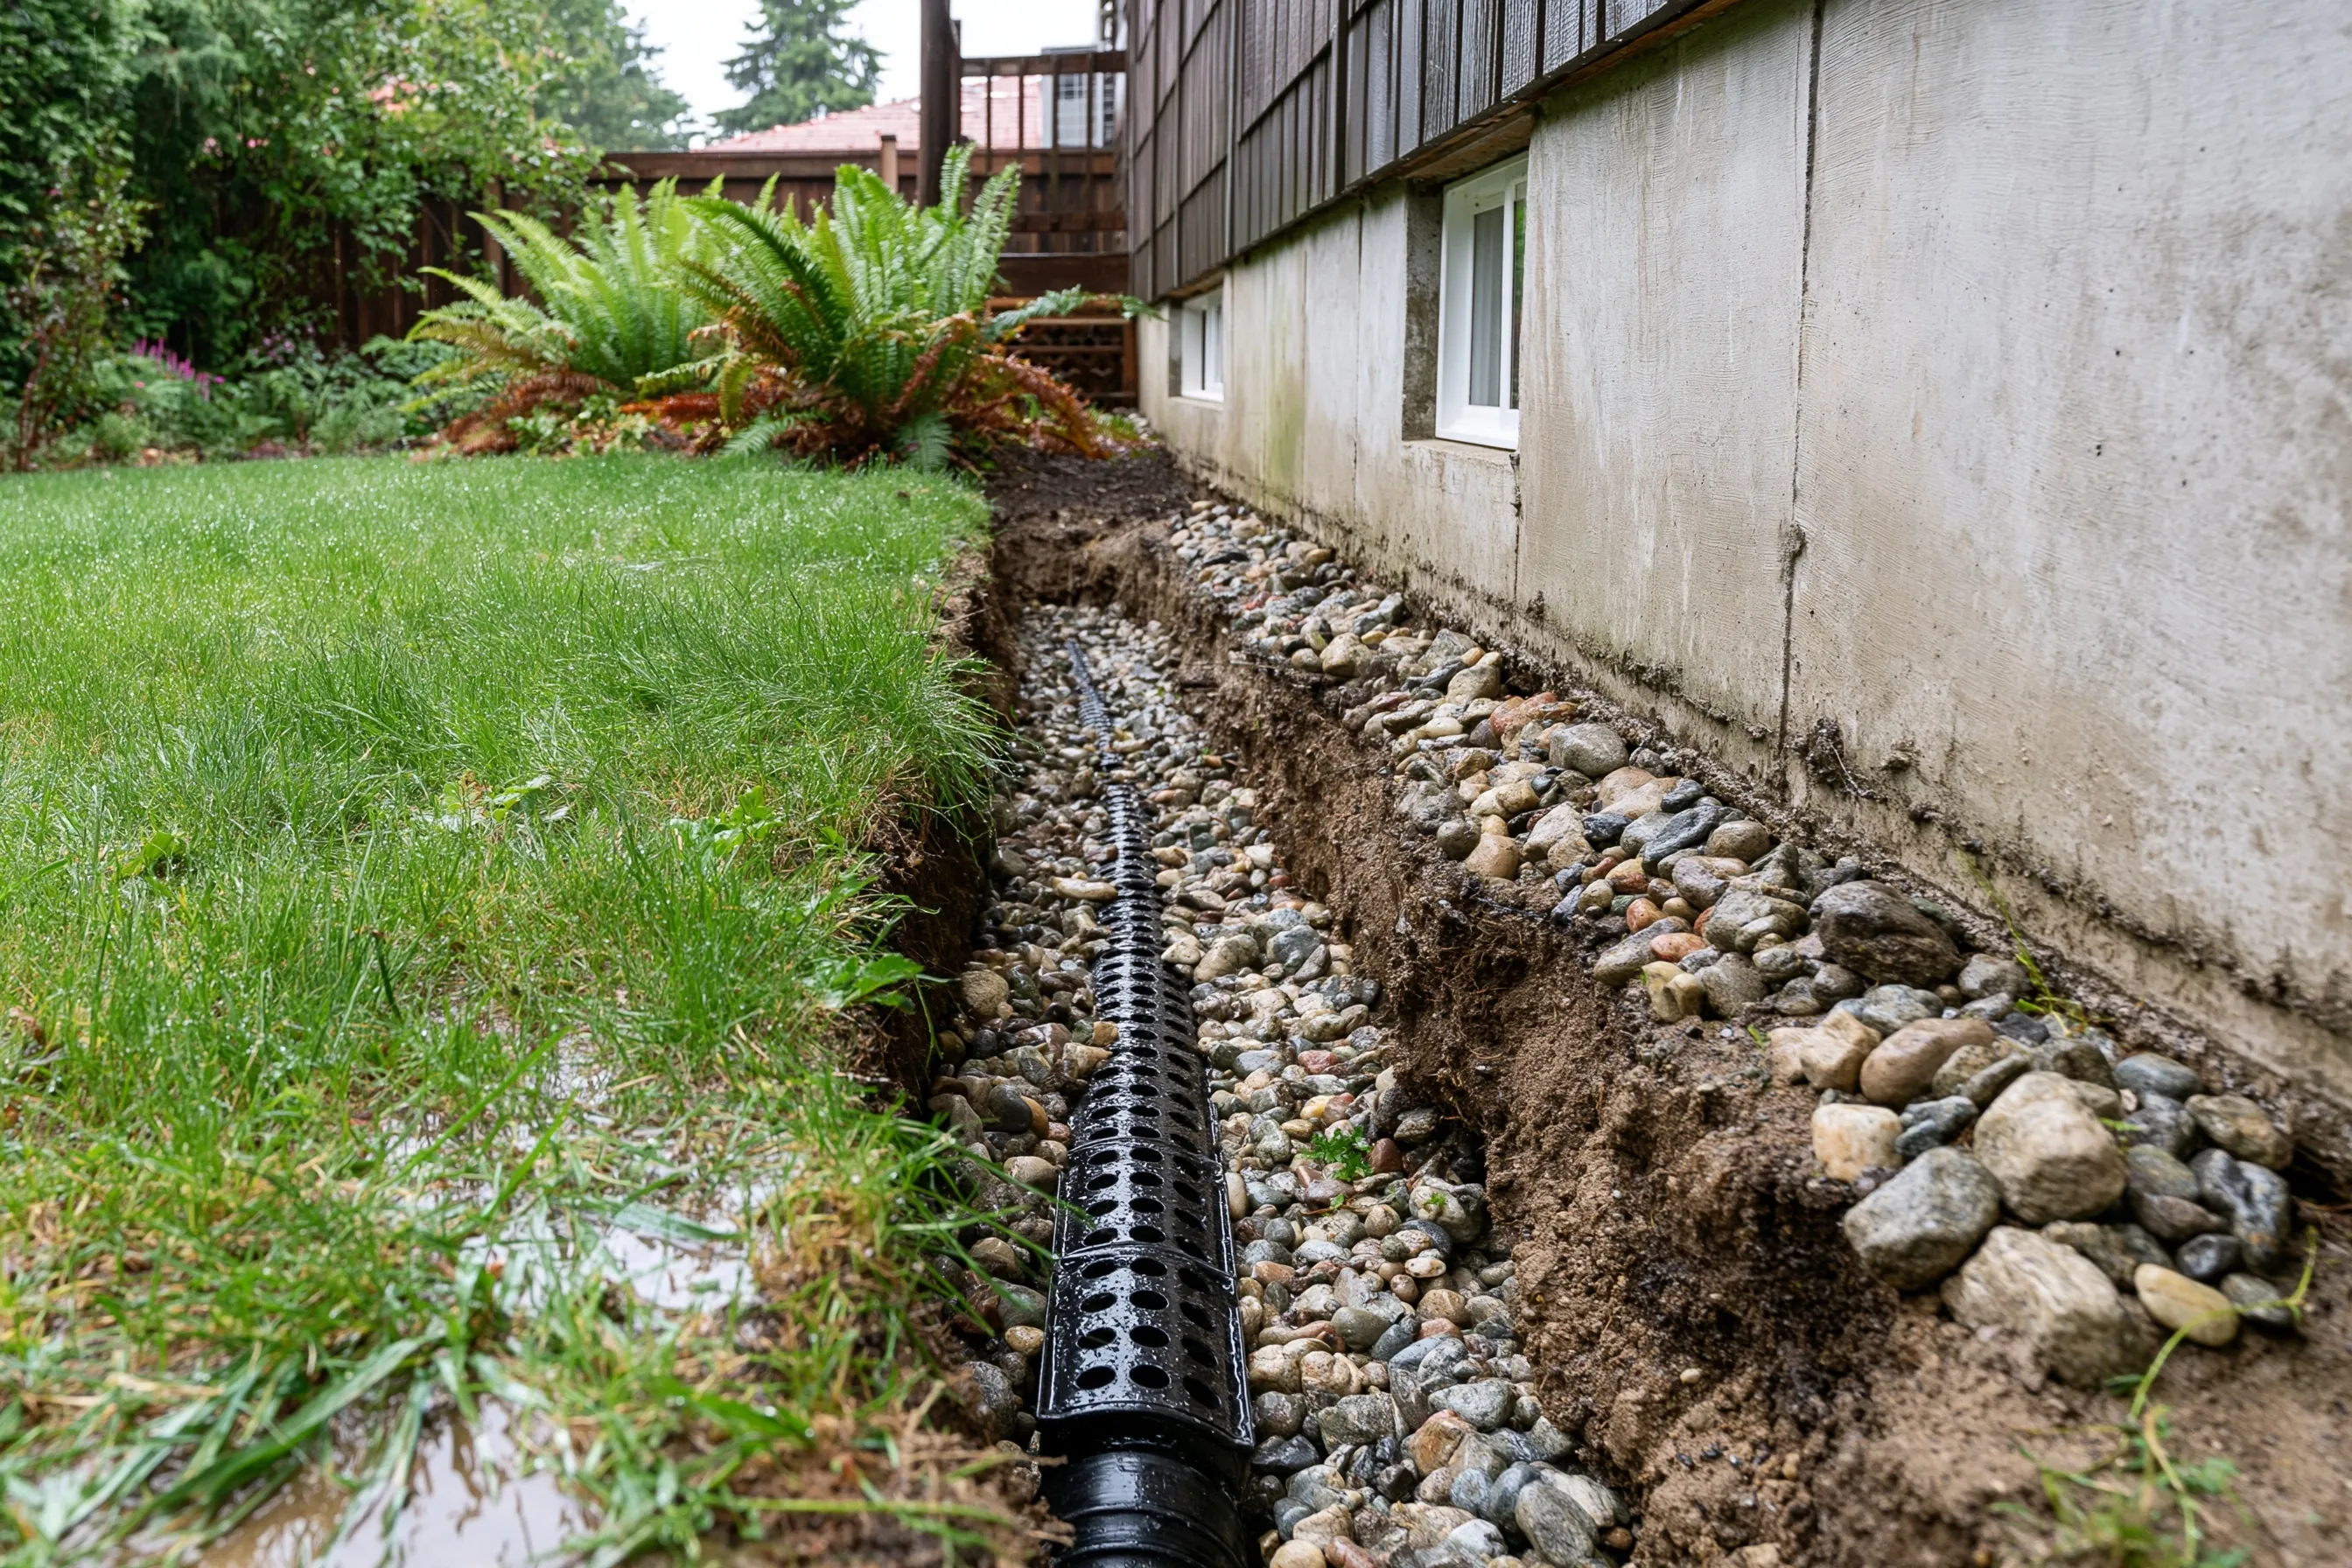
Trench along a concrete foundation wall with a black perforated pipe in round gravel, a wet lawn, ferns, a fence and deck behind and a basement window in the wall
Home
House in Newcastle with a concrete foundation wall and basement windows
Original request
Water that stands along one wall after heavy rain
Trench
Along the outside of the wall, down to the footing
Drain
A black perforated pipe laid in rounded gravel
Not included
Lawn and planting restoration
Cost
$3,400

Scope of work

Digging about 30 ft beside the wall to footing depth, laying perforated pipe on washed gravel, piping the end to a safe outlet and backfilling. Lawn and planting restoration are not part of this cost.

Project overview

In this example, the owners of a house in Newcastle see water stand along one basement wall after heavy rain. The wall has basement windows, and the lawn beside it stays wet.

The plan digs a trench along that wall to the footing and lays a perforated pipe in clean gravel that runs to a safe outlet. The roof downspouts at that wall are checked first so they are not feeding the same water.

The goal

The goal is a collected path for water along that wall, with the outlet and the limits of the work written down.

Process

  1. Before work The wall is walked in the rain if possible, downspouts are checked and the outlet is chosen.
  2. Dig A trench is dug along the wall to the footing with the soil kept on a tarp.
  3. Drain The perforated pipe is laid in gravel with a fall toward the outlet.
  4. Close up Gravel and soil go back in layers and the run is checked with water.

Planning right

  • Watch the wall in heavy rain and note where water first appears.
  • Check that your downspouts empty well away from the wall.
  • Ask where the drain will end and who owns the ground it crosses.
  • Keep plants and fences clear of the trench line.

Get a free quoteMore about foundation drainage

Request a free foundation repair quote

Send the address, say what you see and where, and add a photo if you have one. We'll get back to you soon to arrange a visit or with any questions we have. Estimates are free and there's no obligation.

Call (425) 696-3370

Call (425) 696-3370